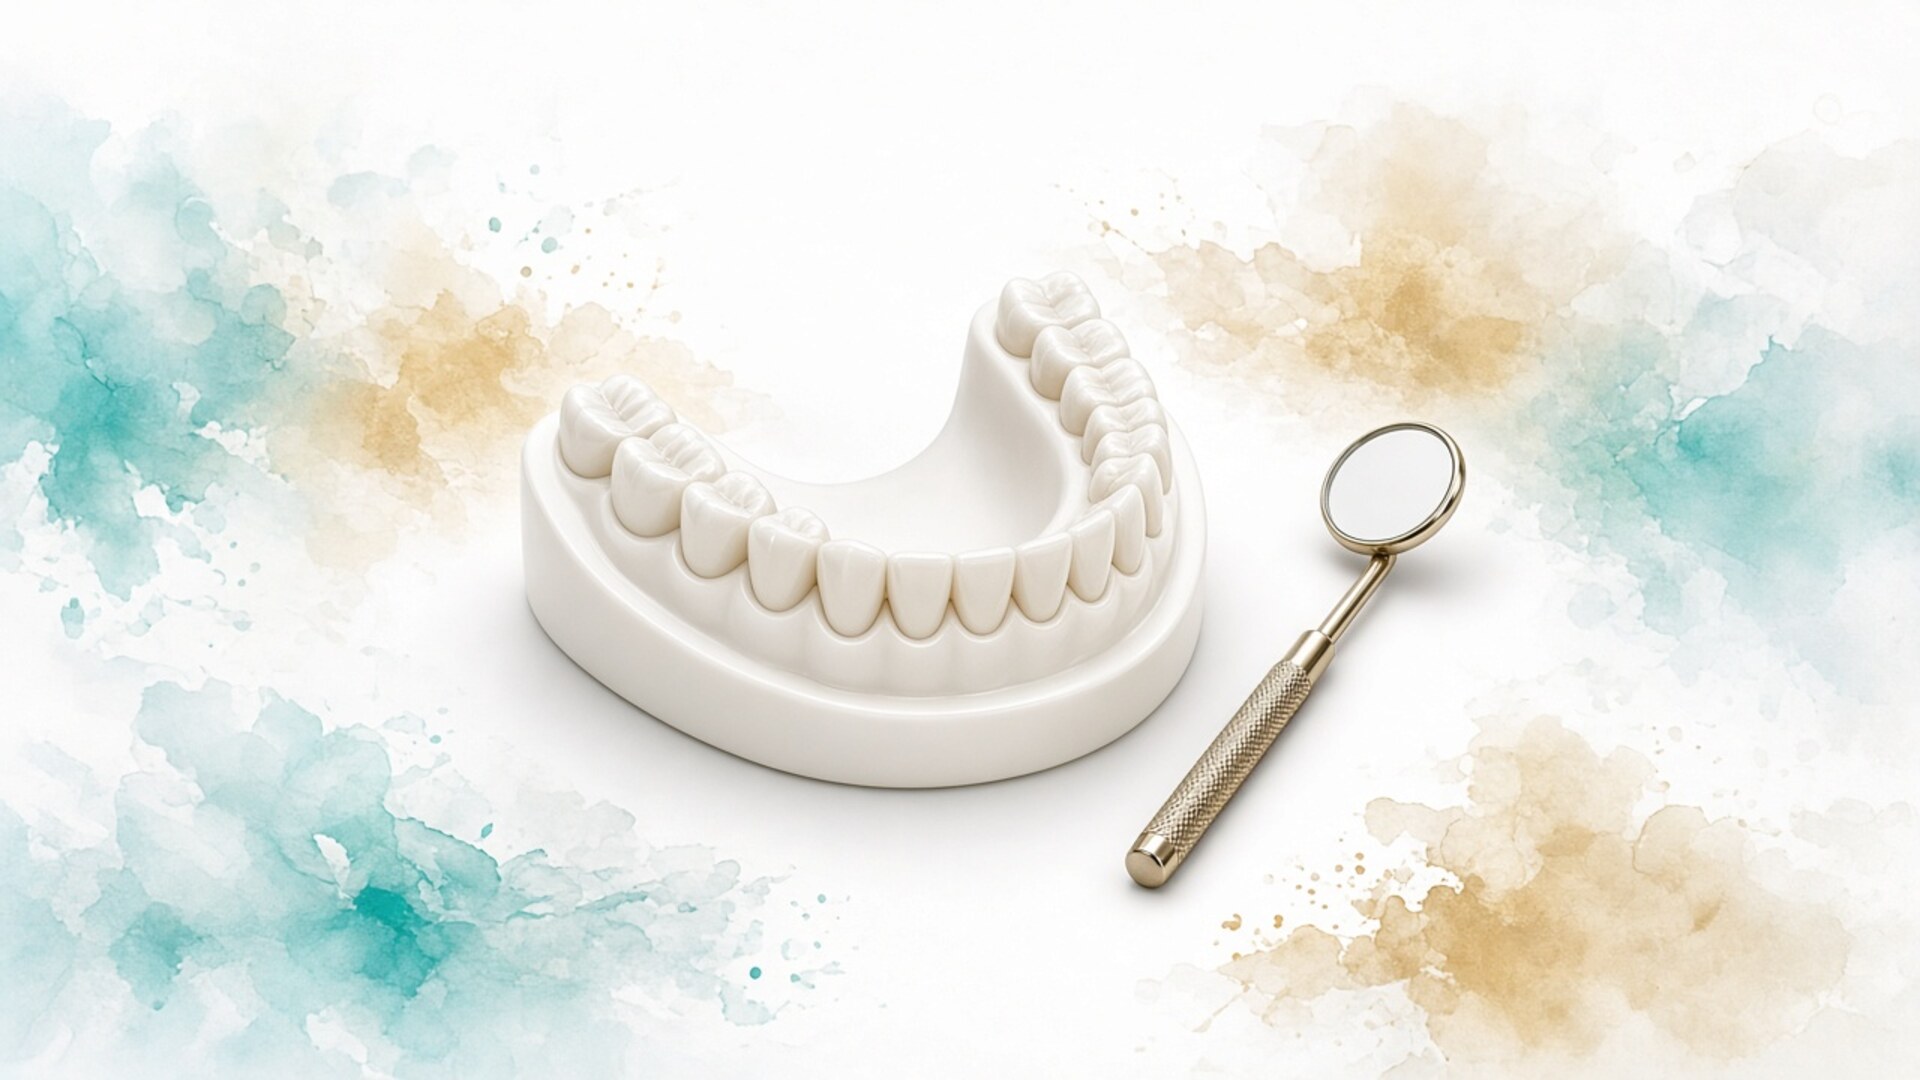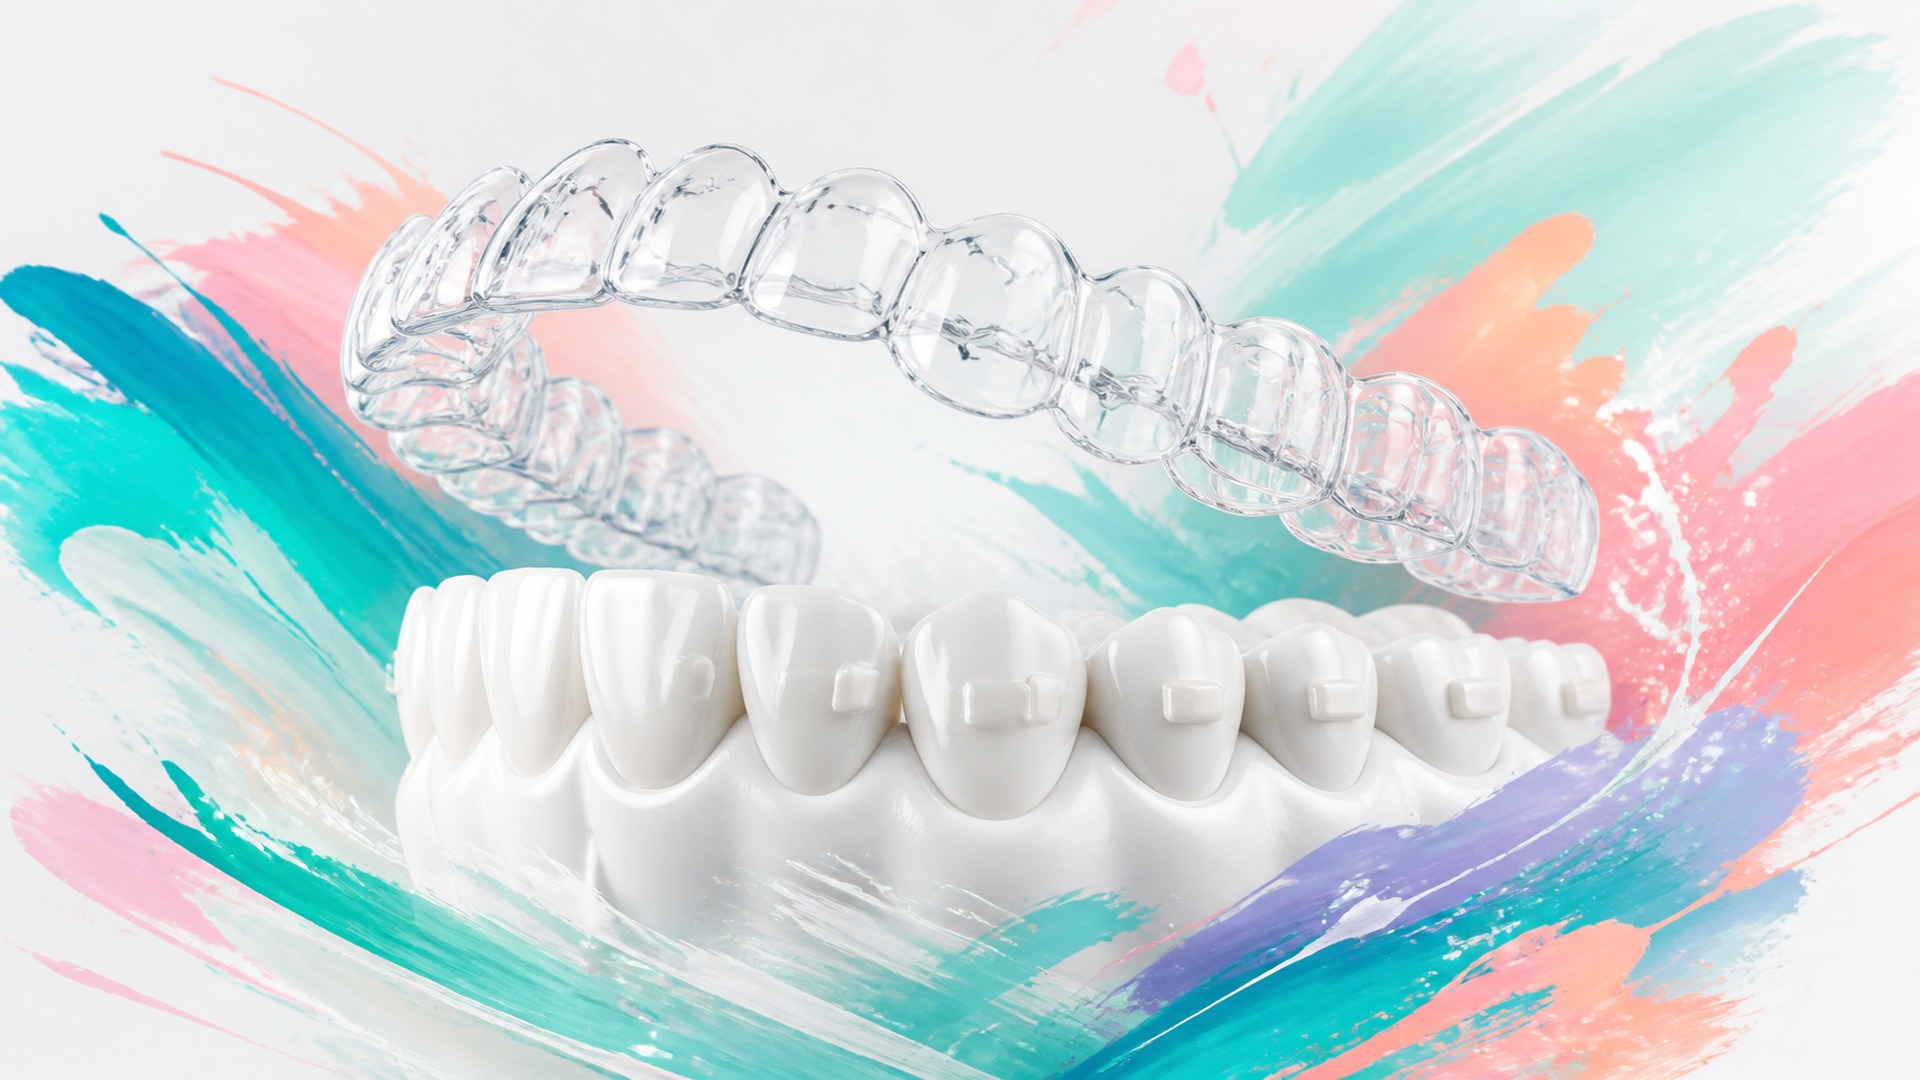
Clear aligner treatment almost always adds small tooth-coloured bumps on enamel. I call them attachments (composite buttons) at the first visit, then attachments for short: temporary composite grips the tray locks onto so plastic can push a tooth in a planned direction. Without them a smooth crown — especially a round premolar or a short clinical crown — often lets the shell slip, and rotations, extrusion, and root control lag the digital model. In Dubai, on consultation, I show where attachments will sit before we manufacture the series, and I am plain about visibility: up close and under phone flash they read; at conversational distance they usually do not. Below: why bumps belong in an aligner treatment plan, how we bond and remove them at aligner fitting, what to do after a chip, and why refusing them “for clean selfie teeth” often returns as an extra tray series. Only an exam with records sets your map; I do not approve attachment layouts from photos online.
What attachments are and how they differ from braces
Patients arrive after a reel that sells “invisible trays, no metal” and expect glass-smooth teeth for the whole course. Adult bites rarely cooperate. An aligner is an elastic shell. It delivers force only where contact with the tooth holds. A smooth, tapered crown gives little purchase. An attachment adds surface and engineered geometry: a beveled face pushes differently from an oval button. This is not a bracket and not a wire. It is a temporary composite handle the doctor places with a transfer template from the plan and removes at finish or when mechanics change. On the adult aligners and Invisalign pages, attachments sit inside system logic, not as a cosmetic surcharge. The braces contrast is short: braces send force through a wire into a bracket; trays send force through plastic into enamel and into the attachment. Both paths are legitimate. Tool choice follows the job, not a Stories trend.
Attachment material is ordinary light-cured composite matched to enamel shade. Size is millimetres, not a second jaw. Shape comes from the plan: rectangle, beveled block, ellipse, sometimes a narrower form for a specific vector. The tray holds a matching well. When the aligner seats with a click, the attachment enters the well and force gains direction. If the attachment wears flat or chips off, the well sits empty — tracking on that tooth fails locally. I ask patients not to wait months for the next planned review: a short repair visit costs less than a new tray series.
We do not sprinkle attachments on every tooth “just in case.” Placement follows weak biomechanics without a handle: premolars in rotation, canines for angulation control, incisors for extrusion, molars for complex shifts. Some arches need four to six attachments; others need more than ten. I draw the map before start so the mirror on bonding day is not a surprise.
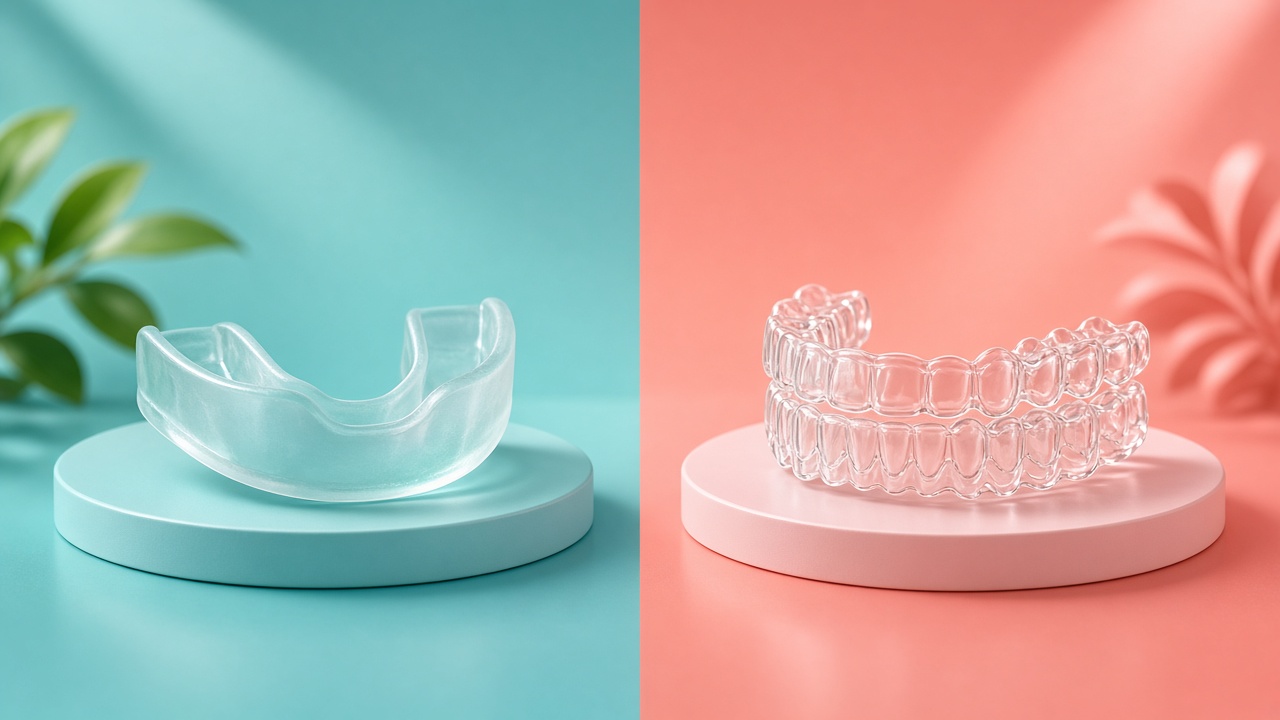
One more confusion: whitening barriers and home-bleach trays are not orthodontic attachments. Whitening accessories do not move roots. An orthodontic attachment lives for months under tray force and must survive daily removal and seating. If someone sells “aligners from a mail-order mould, no exam, no bumps,” on consultation I first ask whether a diagnosis and plan exist at all, then talk about composite aesthetics. Without a bone map and goals, the attachment debate is empty.
How an attachment changes clear-aligner force
A bare shell handles some crown tipping and light shifts well. Complex paths almost always need handles. The physics is plain: the tooth’s centre of resistance sits nearer the root, inside bone, while the tray pushes the visible crown. Force above that centre favours tipping — crown moves, root lags. An attachment changes the contact point and angle, helps assemble a force couple closer to the intended vector, and gives the tray grip on round or conical crowns. Recent aligner biomechanics reviews show the same pattern: without engineered contact the system prefers tipping and relative intrusion over bodily root translation. That is leverage, not a brand flaw. On an aligner treatment plan I lock goals first, then approve where attachments are mandatory and where we can stay bare. Three layers below keep the “why these bumps” talk clinical.
Purchase, grip, and the slipping crown
Picture turning a wet marble with bare fingers. Without texture the fingers slide. A round premolar under a smooth tray behaves similarly: plastic presses, the tooth tips a little, rotation falls short. The attachment creates texture. The tray braces against a bevel or a side face and delivers torque. On short clinical crowns the same logic stops the shell from floating toward the gum during speech and light chewing loads.
At every fit check I verify grip: the attachment should enter its well without a rim gap, and the tray should not rock on that tooth. Rock means under-worn prior hours, a worn attachment, or a stage step larger than the tooth is ready for.
Vector direction: rotation, extrusion, root control
Different shapes target different jobs. A beveled face helps finish rotation around the long axis. Extrusion geometry gives plastic a point to pull the crown out of the socket — a task where a bare shell often stalls. Root-torque control needs stable buccal or lingual stops, sometimes paired with ridges inside the tray. I do not promise one button will “do torque like braces.” I say: without the attachment, the chance of under-controlled roots rises, and an extra tray series becomes more likely.
Patients sometimes confuse attachments with buttons for elastics. Those are different tools. An elastic button or hook solves inter-arch pull. An attachment solves tray-to-tooth contact inside one jaw. One plan may need both. At start I label the scheme: composite bump under the tray versus element for elastics.
Why refusing attachments hits predictability
Refusal can work in very simple cases with favourable crown shape and light tipping. In most adult scenarios, refusing for early aesthetics buys risk: a tooth lags the model, the tray stops seating, the next tray in the box already “lies.” Then we drop back a number, restore attachments, or rescan. An extra tray series — a new scan and another set of trays — is a common clinical stage in full courses. Some causes sit in biology and hard movements. Some sit in “remove every bump, I have photos tomorrow.” If a patient insists after a risk talk, I record the refusal in writing before manufacturing. The surprise should be the size of the extra series, not the fact that the plan weakened without handles.
Which shapes go where on the arch
The plan draws attachments for a specific tooth and movement, not for a pretty screenshot. Lab software offers a shape library; the doctor edits placement before approval. I rarely accept the automatic map unchanged: programs sometimes overload the smile zone and under-support a difficult premolar. On Invisalign and other certified systems the principle is shared — geometry for the job — while protocols and libraries differ. What matters for you is reading your own mouth map before bonding day. I show on-screen marks, name why each shape sits there, and only then we sign off production. If a mark on a tooth is unclear, ask now rather than at the chair with a mirror. How I explain site and shape at the exam follows — without promising “you will get exactly six, like your colleague.”
Smile zone: incisors and canines
On incisors I place attachments with care: the smile zone reads first. If biomechanics need extrusion or angulation control, the bump still appears — usually small and close in shade. Canines see attachments often: long crowns, frequent angulation and rotation jobs, and a convenient buccal face. I mark the photo protocol with where composite will land and ask whether you accept near-view visibility for the months that stage needs the handle.
Sometimes the plan shifts load from central incisors to laterals or canines while keeping mechanics. Selfie beauty and root control are different bills; I name both before you pay for the series.
Premolars and molars: where handles earn their keep
Premolars are rotation classics. A round crown without relief turns poorly under a smooth tray. Attachments here are normal in adult crowding courses. On molars, bumps help distalization, anchorage control, and complex vertical tasks. They show less in a social smile and matter more for rear tray seat. If the back edge of the aligner flaps, I check wear hours and molar attachment integrity before blaming the lab.
Short clinical crowns are a separate talk. Sometimes an attachment is the only way to hold the tray. Without it patients say the aligner pops off mid-sentence. That is grip geometry, not plastic moodiness.
Colour, size, and the ad that showed none
Composite is shade-matched to enamel. Perfect invisibility does not exist: under mixed light the bump still reads a little. Size trades force against aesthetics. Too small and the vector weakens; too large and speech feels bulky for days and photos show more. I follow the system plan and your smile line, then polish the margin after curing so the transition is smooth. Rough edges catch plaque — that is polishing and hygiene, not “normal orthodontics.”
Ad frames often show trays on teeth with zero attachments. That is a simple-case crop or a pre-bonding shot. Trust your approved plan, not a clinic Stories reel from another city.
How visible attachments are in real life
The short answer I give on consultation: up close and under flash — yes, as small matte tooth-shade islands; at conversation distance and in motion — usually no. The tray itself adds a light glare; attachments add relief under plastic. People nearby notice you removing the tray for lunch more often than they count premolar bumps. Exceptions: oversized forms on central incisors, a dark shade on bright enamel, a sharp chip edge, heavy plaque at the margin. Those are visit fixes, not “endure for the plan.”
Phone photos with front flash are blunt. Video calls under overhead light are too. If your work lives on close-up face frames, discuss the attachment map early: sometimes we can shift emphasis off the centrals without losing all mechanics; sometimes we cannot. I do not promise “nobody will ever notice.” I promise clarity: these teeth, these shapes, this stage window.
Against braces, trays win for most social settings. A metal archwire reads from three metres. Attachments under a clear shell read from half a metre if someone stares. Patients who feared “metal in the boardroom” usually stop mapping every bump with the tongue after two weeks. Mouth volume adapts in days, not months.
Dubai adds climate and rhythm: chilled offices, hard sun at building doors, evening events with cameras. The same bump can vanish in a DIFC meeting room and catch an edge on a sunset Marina photo. That is not a reason to cancel mechanics. It is a reason to know the map and, if needed, schedule key shoots around stages when front attachments are already off or not yet on. I build that calendar into the start talk for patients whose work or wedding season hangs on the face in frame.
Teens notice other people’s teeth more than office colleagues do. If the course is adolescent, I speak to parent and patient: bumps are treatment tools, not punishment and not a “failed tray.” Classroom jokes fade faster with a clear line from the doctor.
Bonding, removal, and what happens in the chair
Attachment bonding is a short event after we approve the plan, often paired with the first aligner fitting of the series. Removal comes at the end of active movement or when mechanics change. In a normal adult aligners package, bonding and removal sit inside the fee; confirm any per-button line before deposit. The visit is shorter than braces bonding but still needs a dry field and an accurate template. I say how long the slot takes, whether you may eat beforehand, and what morning hygiene helps: wet plaque and leftover paste fight adhesion. If you fly into Dubai on a tight window, avoid bonding as the last hour before takeoff — margin polish sometimes needs extra minutes. Three layers patients ask about most: bonding day, the first days after, removal day.
Bonding day: template, composite, light cure
The doctor seats a thin transfer template with windows where attachments will sit. Enamel is prepared per adhesive protocol: clean, isolate from saliva, etch or self-etch depending on clinic materials. Composite fills the windows, excess is cleared, light cures. The template comes off; margins are polished. Then we try the first tray: attachments should enter their wells, the shell should seat without bridging over an empty site. If the tray will not go down, we do not send you home to “tough it out a week.” We find the cause: unpolished flash, transfer error, stage mismatch.
Arch time usually sits in tens of minutes, not half a day. Brief sensitivity after etch happens. Sharp bite pain on bonding day means stay in the chair and check attachment height and seat.
First days: speech, tongue, tray pressure
The tongue maps new relief for a few days. A lisp on sibilants fades in two or three days for many people. New-tray pressure peaks in the first 24–72 hours — ligament and stage force, not automatically a “wrong bump.” If one attachment rubs as a sharp point, the margin may need polish: message the clinic; do not file it with a nail file at home. Home grinding breaks the geometry that carries the force vector.
Food only without the tray. Chewing steak in a seated aligner with attachments is a path to cracked plastic and chipped composite. Night wear is mandatory: sleep covers a large share of the 20–22 hour target.
Removal: when enamel is cleaned
We remove attachments with carbide instruments or dedicated burs at low speed under water, then polish enamel. With careful technique the surface returns to smoothness; a light matte feel for a few hours clears with hygiene. I do not strip attachments “for a wedding photo week” if the stage still needs grip: temporary removal and rebonding without a precise template risks vector error. If an event is critical, we plan ahead — shift a stage or use a supervised temporary protocol, not DIY the night before a flight.
After removal, retention is a separate topic. Smooth teeth without attachments do not mean “no retainer.” The ligament remembers old positions for months.
Chips, wear, hygiene, and tray seat
An attachment lives in a hard environment: saliva, brushing, chewing loads through the tray, sometimes night grinding. Some bumps round slightly by mid-course while the plan still holds. Some chip clean off — grip on that tooth vanishes. I want a photo the day of the chip, not “at the six-week review.” While the tray well sits empty, force on that tooth loses direction. Neighbours may outpace the lagging unit. At review that looks like an incisal gap or a rocking tray. Repair takes minutes with a template or a targeted technique; waiting months buys an extra tray series.
Hygiene around the margin needs care. Soft brush, interdental cleaning as instructed, irrigator when indicated. A hard brush with abrasive paste wears composite faster. Stain from coffee and curry happens: remove trays for pigmented drinks, clean after. A dark rim at the gum is plaque, not “composite gone bad alone.”
Chewies help seat the tray over attachments at the start of a stage. They do not replace wear hours. One daily chew-down plus four hours of tray-out for calls is different maths.
| Situation | What you feel / see | What happens to force | Do this in 24–48 h | Risk if you wait | What I check at the visit |
|---|---|---|---|---|---|
| Attachment intact, tray clicks | Firm seat, mild pressure 1–3 days | Vector on plan | Wear 20–22 h, use chewies | Low with discipline | Button–well contact |
| Attachment worn flat | Tray seats easier, slight play | Grip weakens | Message clinic with photos | Tooth lag | Height and shape left |
| Full chip | Empty well, tray rocks on tooth | Force smears | Book repair | Extra tray series later | Re-transfer |
| Tray will not reach gum at attachment | Rim gap, “bridge” | Stage not tracking | Do not jump to next number | Series failure | Hours, prior tray, template |
| Sharp edge after chip | Tongue/cheek trauma | Soft-tissue injury | Smooth only in clinic | Ulcer, tray avoidance | Polish or replace |
| Plaque at outline | Dark rim, odour | Gum and contact-caries risk | Hygiene + exam | Inflammation, pause | Margin, periodontium |
| Refused attachments “for photos” | Smooth teeth, floating tray | Predictability drops | Written risk note | Frequent extra tray series | Alternate staging |
The table is a conversation map, not an online diagnosis. Your stage, movement type, and tray system shift thresholds. Repair versus a rescan for an extra tray series is a chairside call.
Refusing attachments, tracking, and an extra tray series
The common start conflict: “I want trays, but no bumps.” I unpack it calmly. First — which movements in your plan need handles. Second — what tracking does without them. Third — whether the package includes an extra tray series and how many rounds. Without those three points, refusal is a lottery. With them, it is a choice. On an aligner treatment plan that fork should close before manufacturing, not on tray three at the bathroom mirror. I write the decision in the chart: full set per plan, reduced set with recalculated risk, or refusal with alternate staging. Six months later we do not argue “who promised what,” and the estimate stays aligned with expectations. Three Dubai scenarios I see most often follow.
Simple cases: when bare trays can work
Light front alignment, favourable crown anatomy, minimal rotations — sometimes the plan holds on the shell alone. I still warn: if a tooth lags at review, we reopen the attachment talk instead of “strengthening” the tray with chat-group tips. Honest simple cases are uncommon among adults with long-standing crowding. Ads sell the rare case as the norm.
Moderate and complex courses: attachments as contract language
Premolar rotations, extrusion, space closure with angulation control, pre-prosthetic setup — I place attachments from the start. Refusing after plan approval breaks agreed mechanics. If you change your mind before production, we rebuild plan and estimate. If you change after half the attachments are bonded “because a colleague asked,” we record new risk and, if needed, a new scan. Fitting and review without handles on a hard tooth become a string of “why won’t it seat” visits.
Extra tray series: when bumps are beside the point — and when they are not
An extra tray series means a new scan and another set of trays when the first series did not close goals. Causes include bone biology slower than the model, optimistic staging, under-wear, chipped attachments, a mid-course goal change (“add these two teeth”), and refusal of enamel reduction when space is short. Attachments are one lever, not the only one. I do not blame every second round on “bad bumps.” I read tracking, hours, composite integrity, and stage match to the model. If attachments wore off three months ago and you stayed silent, part of the extra-series volume sits on that pause, not on the lab.
Read the contract limit on extra tray series before deposit. On my site the treatment-plan service lists from AED 600; full system packages start higher on service pages — for example Invisalign from AED 22,000 (figures as published on those pages; confirm your current estimate). Whether an extra tray series sits inside the package or bills separately is a line to read before you pay, not after the last tray of series one.
Attachments on clear aligners are small composite handles under a transparent tray. They matter where smooth enamel cannot hold controlled force. Up close they show; in daily life they usually do not. We bond them with a template, remove them at finish, and restore them after a chip. Refusing them for an early selfie more often buys an extra tray series than a clean smile for the whole course. To map attachments for your bite, start with consultation and records — not a box bought from a photo.
FAQ
Are attachments mandatory with clear aligners?
Not always. Simple tipping cases sometimes run without them. Most adult courses with rotations, extrusion, and root control need attachments for grip and predictability. The 3D plan shows the decision before manufacturing. I do not bond bumps for decoration, and I do not delete them silently on request without recalculating risk.
How visible are attachments in photos and conversation?
At normal conversation distance people rarely notice them. Under flash and up close they read as small matte tooth-shade zones, especially on incisors. The tray adds glare. If close-up face work is part of your job, review the attachment map on consultation before you approve the series.
What if an attachment chips off?
Message the clinic the same day with photos of the tooth and the tray. Do not wait months for a planned visit and do not grind remnants yourself. An empty well means lost grip on that tooth. Repair is usually short; a long chip delay more often ends in a lagging stage and a talk about an extra tray series.
Can I remove attachments for a wedding or shoot and put them back?
Sometimes we plan that under supervision. DIY removal breaks stage geometry. Rebonding without an accurate template risks shifting the force vector. Better to shift a stage or pick the shoot date against the plan than repair mechanics after home aesthetics.
Does bonding or removal hurt?
Bonding means pressure, curing light, and sometimes brief sensitivity after enamel prep. Removal is instrument vibration and polish; sharp tearing pain on a healthy tooth is uncommon. Bite pain right after bonding means check height and seat before you leave, not walk out with a sharp edge.
Are bonding and removal included in the course fee?
In a normal adult-aligner package, yes — as part of mechanics. Confirm the estimate in writing: short packages sometimes cut auxiliaries. Repair after a chip from wear or accident is also worth clarifying at start. Site prices are service floors, not a final invoice without examination.
Do attachments cause an extra tray series?
Directly — if they are missing or worn for a long stretch, tracking falls and the chance of an extra tray series rises. Indirectly — under-wear, biology, and hard movements also drive second rounds. Attachments are one lever among several. At reviews I check bumps together with tray seat and wear honesty.
Do Invisalign attachments differ from other systems?
The principle is shared: a composite stop under a tray well. Shape libraries, template protocols, and planning software links differ. On the Invisalign page and in adult aligners I outline system scenarios. Brand arguments without your bite map waste time: teeth and goals first, box logo second.